Fast forward to last month and it was still sitting in our garage. That is, until I finally decided I was going to turn it into a coffee table a few weeks ago. It can can take me forever to finish projects - primarily due to my indecisive nature. I can never seem to commit to a paint color, a purpose, or whether or not I'm going to keep a piece or sell it....and so I just never start.
Well, I finally decided I was going to give the catalog a makeover & sell it. I didn't feel bad about painting it, since it wasn't one of those nice wooden vintage ones. This catalog was probably from the 80's or 90's, complete with faux wood veneer. BTW, this thing is HEAVY! I contemplated re-purposing it as a console table, but then decided it would probably be better as a coffee table instead. To make it easier to move around, I ended up putting four swivel casters on the bottom.
So here's how I did it from start to finish.....
To start, I had to fill in some of the missing veneer strips. To do this, I bought a back of iron on veneer from Lowe's. All I had to do was cut the strips to size, iron on, & cut away any excess.
Before I could prime & paint, I had to remove all the hardware from the drawers. At this point, I also cleaned off the drawers & hardware with soapy water. Next, I taped off all the drawers in preparation for paint.
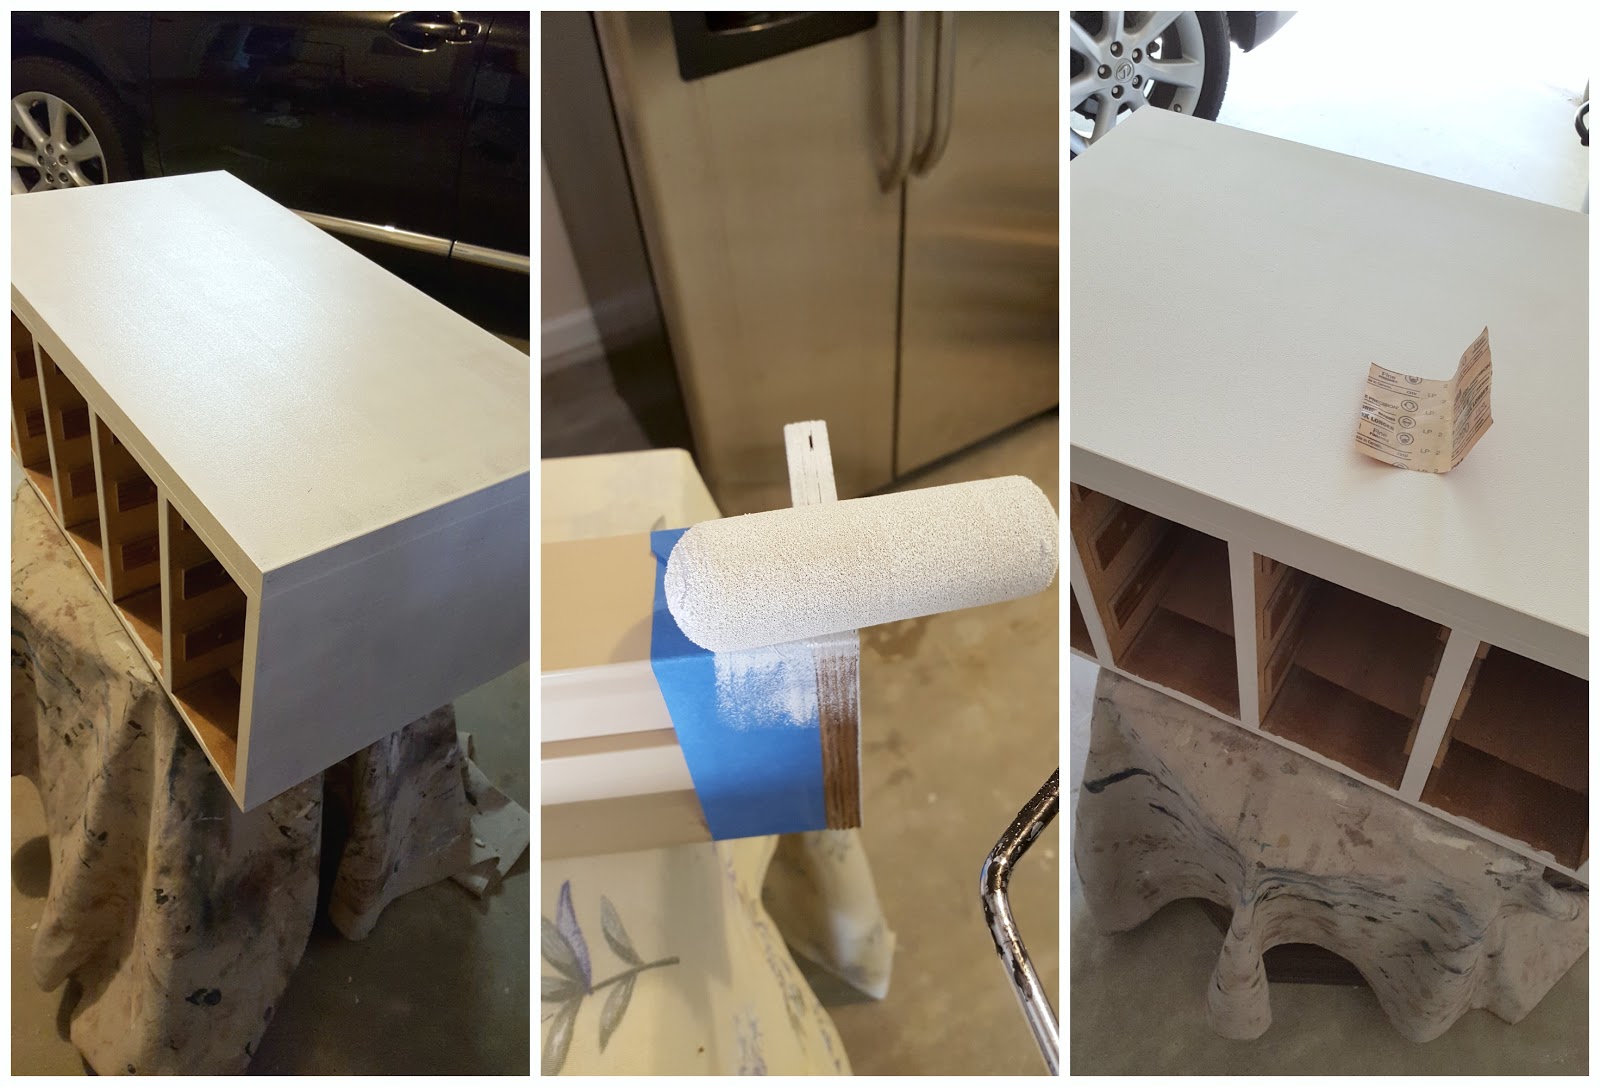
I wanted to spend the least amount of money as possible, so I used paint & primer that I already had on hand. I started out with two coats of oil-based primer (fully drying between coats). Then I lightly sanded the entire piece with a 220 grit sandpaper (wear a mask!).
Next, I painted the drawers with 3 coats of black chalkboard paint by Valspar.
For the cabinet, I went with 3 coats of Cool Metalwork Grey in a Satin finish by Glidden (leftover from Sami's board & batten wall).
I let it sit for a day before reattaching all the hardware:
Lastly, I picked up some swivel caster wheels from Home Depot. I got two different sizes to try out:
I liked both wheels for different reasons, but in the end I went with Option #2. The larger wheels looked a little more industrial & also helped to give the coffee table more height. The finished coffee table is 18" wide x 33.5" long x 18" tall.
To attach the wheels I used some bolts, washers, & screws. You can see from the photo that the two bolts on the outside were screwed into the cabinet from the bottom up, while the two inside bolts were screwed in from the top down:
Here it is all finished!

The cool thing about this piece is that you could add paper labels OR you could use a chalk marker to write your own labels (I have the worst handwriting ever, but it would look cool with some modern calligraphy).
What I love the most about this coffee table is that it doubles as storage - you could really keep anything in here (the drawers are about 15" deep x 5" wide x 3" high).
This piece would be a nice catchall for all those random things that never have a proper home, like batteries, TV remotes, matches, candles, etc... Basically, it's like the ultimate junk drawer cabinet! Hope you liked this makeover & let me know if you have any questions!xo,Mel


No comments:
Post a Comment