

The idea to create an all purpose 'creative' space developed a few weeks ago as I was trying to organize some storage bins in the garage. The bins were a jumble of holiday decor, Halloween costumes, mementos (old baby clothes, school work from kindergarten-college, yearbooks, graduation cap & gowns, sports trophies, journals & souvenirs from my study abroad/backpacking trips, etc).
Originally, my goal was to re-organize the contents of the bins into 2 main categories:
1. things we need to access yearly (holiday decor which would be stored in the garage)
2. things we need to access only when we want to reminisce (mementos which would be stored in the attic)
So how does this relate to a creativity closet? Well, in the process of organizing the bins, I also began to find things like my old knitting supplies, tons of photos, and lots of random art & craft supplies. I discovered tons of half-finished projects that had been shoved into bins for years.
Our system for storing all things 'creative' was very disjointed. We had some stuff in Nader's "music/art studio", some stuff packed away in those garage bins, and other things scattered throughout the house. Suddenly my garage organization project turned into a complete re-do of our art/music studio. You know how that goes - 1 project turns into 500...
I began by bringing all the bins into the living room & separating everything into categories:
Ahhhhh! This gives me anxiety:

I like to visually assess everything we have first and then figure out how to categorize & store it. Once I organized all the "memento" bins & put them away in the attic, I was ready to begin evaluating what was going to go in our new creative closet.
I started by making a list of everything we owned that was in the art/craft/hobby category. This is what I came up with:
PAINTING/DRAWING: paints, brushes, sponges, oil pastels, drawing pads, pencils, markers, canvases
SEWING: sewing machine, fabric, thread, pins, buttons, ribbon
KNITTING: knitting needles, yarn (I learned how to knit in college & I actually made some really cool scarves! Did I forget how to knit? I sure did...)
SCRAPBOOKING: paper of all sizes, stickers, adhesives, binders, scissors (I don't actually scrapbook, but I tried to at one point.)
COLLECTIONS: seashells & coins (I collect coins & paper money from every country I visit)
WRITING: Nader's journals & notebooks
JEWELRY: beads, tools
PHOTOS: all photos
MUSIC: some favorite CD's, books on music programs for Nader's studio, computers, headphones, keyboard, microphone & stand
DESIGN/DECOR IDEAS: magazines, catalogs, paint swatches, inspiration board
After looking at that list I realized we had a lot of stuff to store & our current closet shelving situation just wasn't going to work. This is what it looked like when I started:
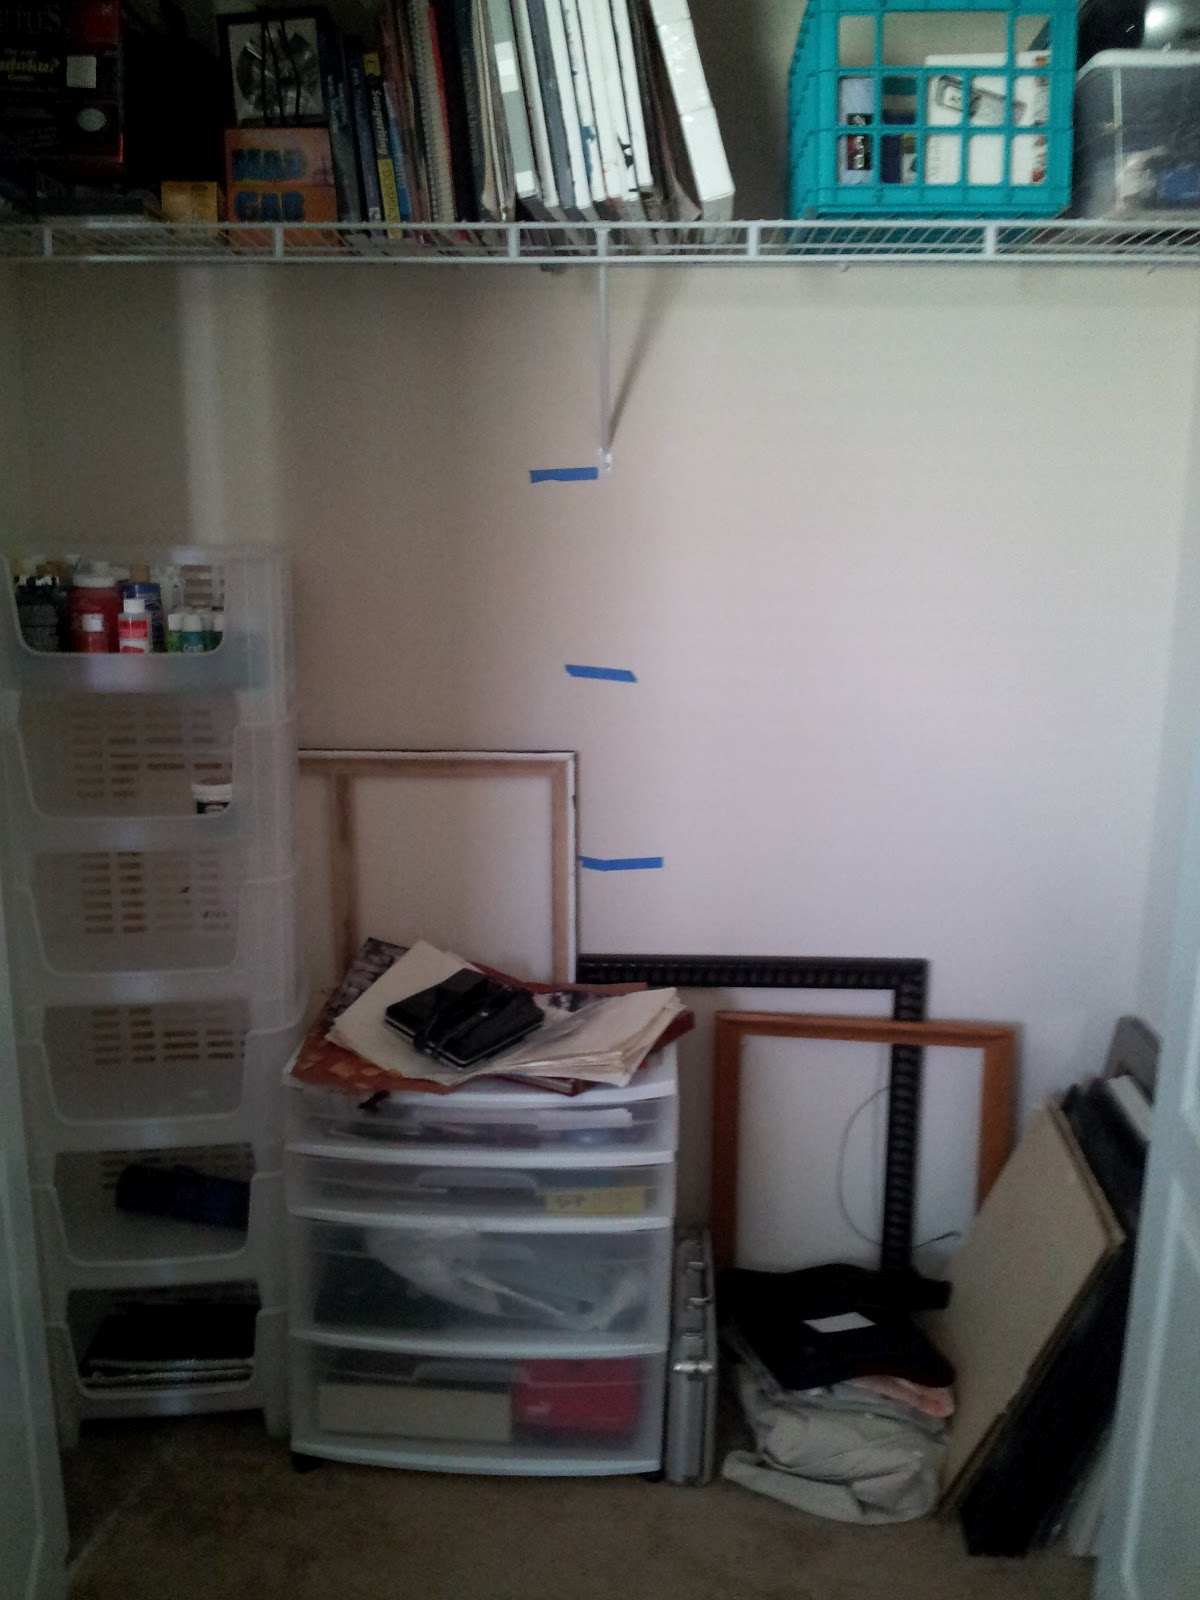
Yikes, right?
Thankfully I had an idea of what I wanted to do from some Pinterest inspiration of course. First thing we did was clear out the closet & remove the existing wire shelf:

Then we patched up any holes & repainted the closet with some leftover paint we had from the living room - Wheat Bread by Behr:

After the paint dried, we installed the adjustable shelving system we picked up from Home Depot:

Next, we had to venture out to find some storage components including boxes, bins, drawer units, glass jars, over-the-door shoe organizers, etc.
We began by putting together a drawer unit - Alex Drawer Unit from Ikea:

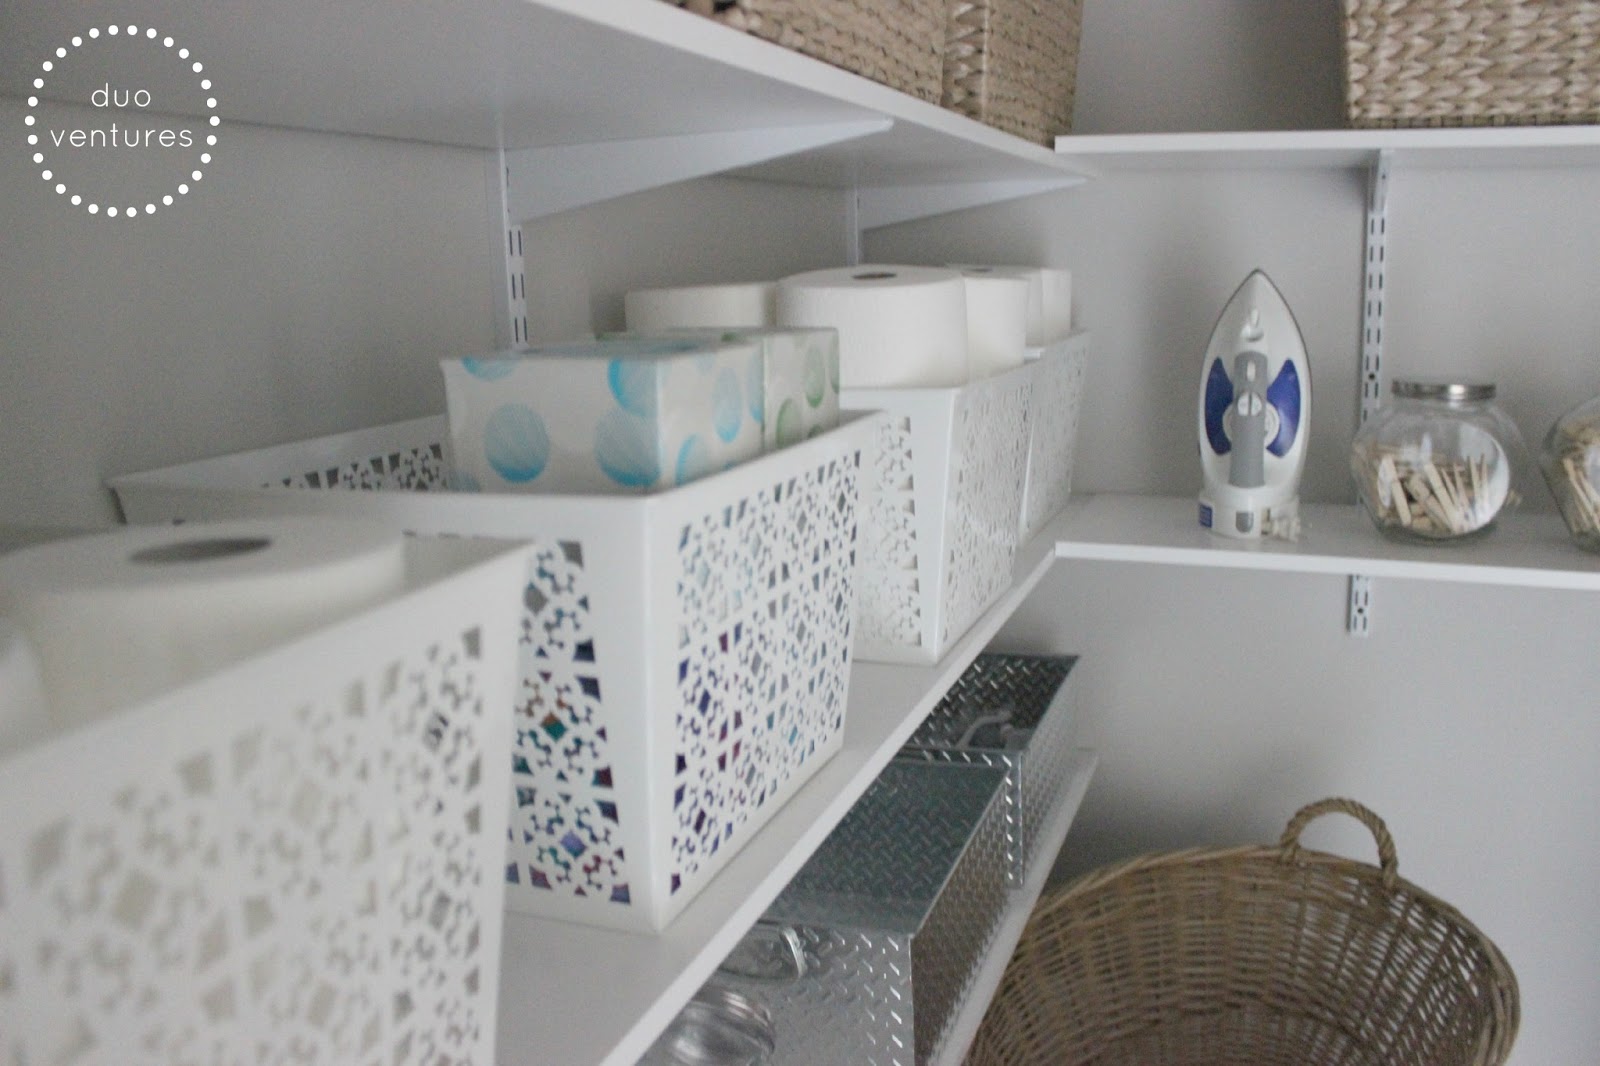
Then it was on to all those Kassett Boxes from Ikea. OMG. That definitely took some time. I know there are some of you out there who know exactly what I am talking about!

Finally, it was time to put everything away. I bought some glass jars from Hobby Lobby during a 60% off sale. This is where we are storing my shell & coin collections, buttons, ribbons, thread, & some art supplies:


All of our paints are stored in 2 clear over-the-door shoe organizers - easy to access & see:

Before & After:

Our studio is almost complete! We just need to label everything & do a bit more "sub-organizing".
Mel & Nader
:)


