


Last weekend we hosted a little holiday gathering with some of our co-workers, so we had to pull out the decorations, turn on the music, & bring out our inner "Elf"...(everyone does that, right?)
While we love all the classic holiday decor, we are definitely more non-conventional kind of people. For some reason, we don't gravitate towards any of those traditional primary reds & greens. Maybe because our color schemes are so gray & neutral throughout our house? Or maybe because we like putting our own modern spin on it? Either way, we like to keep all of our holiday decor colors & themes neutral. This year, our holiday colors primarily consist of whites, blacks, grays & silvers.
While we love all the classic holiday decor, we are definitely more non-conventional kind of people. For some reason, we don't gravitate towards any of those traditional primary reds & greens. Maybe because our color schemes are so gray & neutral throughout our house? Or maybe because we like putting our own modern spin on it? Either way, we like to keep all of our holiday decor colors & themes neutral. This year, our holiday colors primarily consist of whites, blacks, grays & silvers.

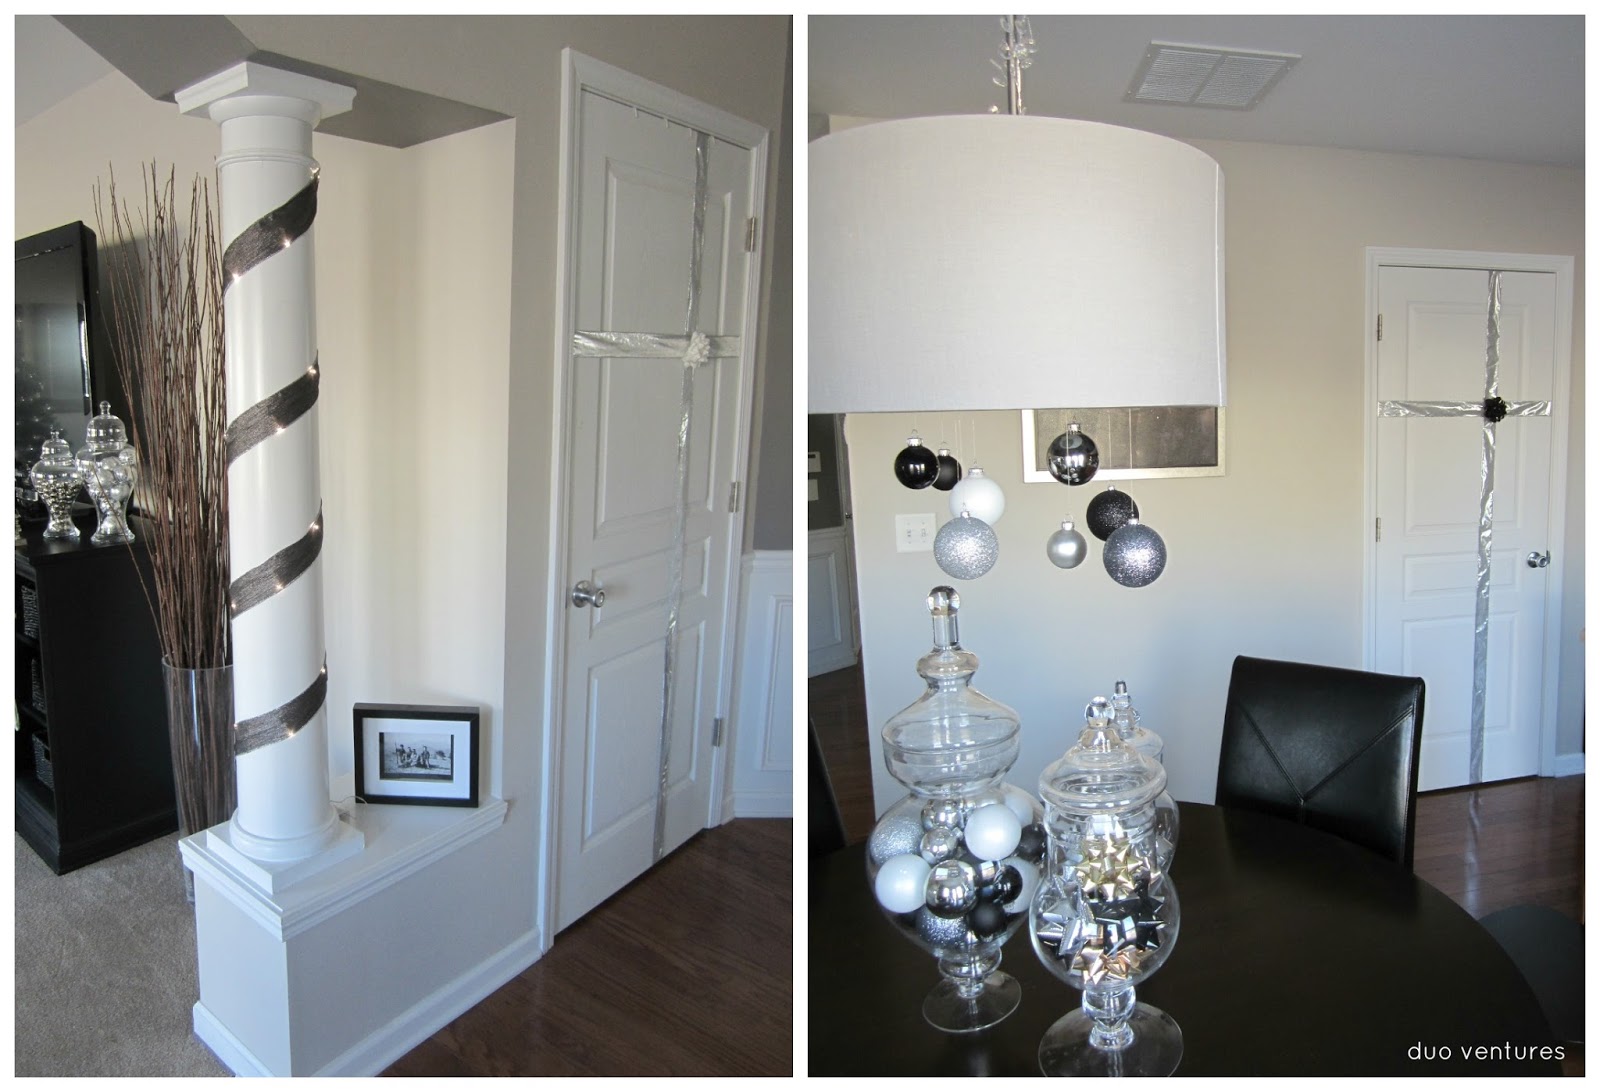
Now, let me be the first to admit...I am obsessed with apothecary jars. I have quite a few of them throughout our house, & the dining table is no exception. They are normally filled with lemons, but for the holidays we filled them with ornaments, metal cookie cutters, & bows:

 The ornaments are in all different finishes- pearly, sparkly, shiny, & matte.


We also strung some ornaments from fishing line & hung them below the light fixture at different levels. Nader used paper clips to attach the string to the actual fixture:


We found some of these bendable crystal holiday decorations (who knows what they're called) from Target & we wrapped them up the light fixture:

We have two more apothecary jars on the right side of our TV stand, which we filled with silver bells (from Hobby Lobby) & more silver ornaments:


On the left side of the TV, we just added some deer from Home Goods:


We hung two stockings from our TV stand as well:

For the columns, we bought some mini battery operated LED lights from Target & some dark taupe/gray ribbon from Home Goods. We strung up the lights & secured them with tape, then just wrapped the ribbon over the lights:

We "wrapped' our doors with two pieces of silver ribbon & a bow (we used a regular sized bow, but it would look better with one of those giant ones):

This year we decided not to have a big tree. Luckily, we had our mini tree already decorated (we kept it in the guest room since last December...haha). Smaller artificial trees are awesome if you don't have the time, money, or patience to decorate a big tree. We set the tree up on a side table:


Happy Holidays Everyone!
Mel & Nader
:)


