

Last year I shared my game plan for Sami's big boy room & the first project on my list was building a queen size bed to fit the box spring & mattress that we already had from our guest room. I happened to see the Pottery Barn Kids Emery Bed somewhere on social media & thought it was a really cute & simple design:

OUR MATERIAL LIST
(3) 10 ft 2x4(2) 8 ft 2x4
(2) 8 ft 1x8
(2) 8 ft 1x3 OR (1) 2x2
(5) 8 ft 1x4
(5) 10 ft 1x6 Tongue & Groove
(1) small box of 1 1/4" screws
(1) small box of 3" or 4" screws
(1) tube of Wood Glue
(1) small container of wood filler
(1) 4-piece set of bed rail hardware (we ordered ours from Amazon)
(1) gallon of Paint & Primer in One
TOOLS WE USED
table saw
chop saw
sander
drill
First, I went online and found a tutorial for a queen size bed frame and then we loosely based our design measurements off of his bed plans (we didn't follow his tutorial or material list exactly since I was trying to mimic the PBK bed, but it's a nice basic outline to follow).
Once we had all our lumber, we cut the 2x4's for the footboard & headboard frames to size. Then we notched out a back corner of the 2x4's with the table saw so that the tongue & groove boards could eventually sit inside. This is a scrap piece we used to test out the cuts first:

Here all all the frame pieces cut to size & notched out:

Next we attached all of the the 2x4's together to create the frames for the headboard & footboard:

Many people use a krig jig to create pocket holes when building, but we don't happen to own one, so we made our own pocket holes using a paddle bit & then sunk the screws in the larger holes. Since I planned on painting the bed, I didn't mind the holes because I could easily fill, sand, & paint them with no problem

Once the frame was assembled we cut the tongue & groove boards to length. We did a dry fit, then we attached all the tongue & groove boards together using wood glue before screwing them into the frames:

To attached the tongue & groove boards to the frames, we used 1 1/4" screws all the way around & wood glue underneath. I forgot to take a photo of this part, but here are the finished pieces:


Next we assembled the rails & slats. We cut the 1x8's and 2x2's to length and then screwed them together & used wood glue for extra reinforcement. Lastly, we screwed in the five 1x4 slats (we ended up unscrewing the slats and reattaching them once we moved the bed into the room):

After we finished, I went ahead and filled any holes with wood filler & sanded once dry. I repeated this step for certain areas:


Like the PBK inspiration bed, I wanted to paint the bed a simple white. Choosing white paint colors is harder than it would seem - there are warm tones, cool tones, and neutral tones. Most of the recommendations from bloggers, designers, or even my friends on IG were for Benjamin Moore & Sherwin Williams paints. I've used BM before, but I typically just go to HD or Lowe's for convenience & cost savings.
I wanted to find an affordable perfect white paint that I could easily pick up at my local home improvement store. After looking at some swatches, I had some whites in mind by Behr, but I just couldn't decide. Thankfully, my IG friend Nagwa Seif (who is also an amazing designer in Cali - please check her out if you haven't!) helped me finally decide on a color - 'Bit of Sugar' by Behr.
I decided to try the Behr Marquee line which is supposed to be their best & most durable one coat coverage paint. In terms of sheen, I was torn between eggshell & satin. I wanted something durable & wipeable, but not too shiny. In the end, I decided on Behr Marquee 'Bit of Sugar' in a satin enamel finish.

I started with an angled brush & got in all the edges, creases, and tongue & groove joints. Coverage was great, but I still felt it needed a second coat (maybe since it was raw wood?). After all the cutting in was done, I painted the rest of the bed using a small 4" foam roller.

Once I finished all the painting we carried everything up to Sami's new room and assembled the bed using brackets I ordered on Amazon. The bed is very sturdy overall, but to be honest it moves more than I would like if you push on the footboard. I think it's in part due to the type of brackets we used and also because we used thinner 1x8's for the side boards (instead of 2x8's). It's fine for Sami to sleep in now, but it might be something we try to improve down the road:


It helped to lower everything down about 4" - not a lot, but it definitely made a huge difference for Sami. Here is the finished product!
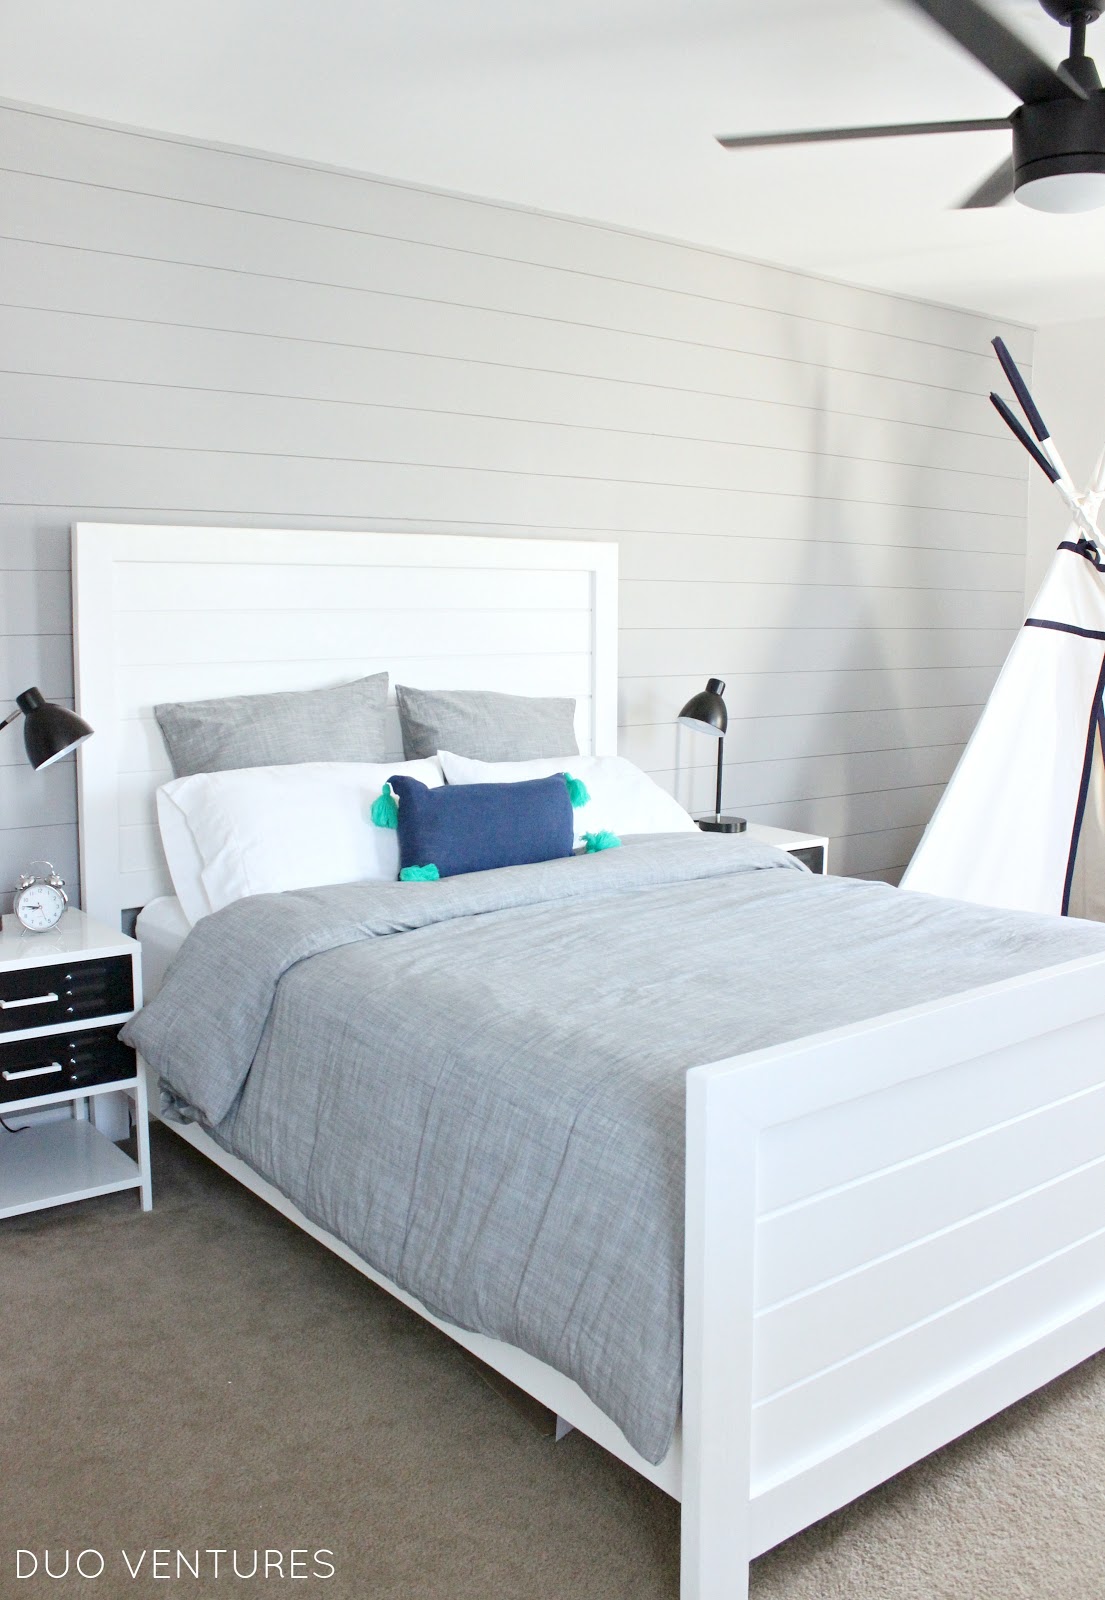
I love how it turned out! Sami actually started sleeping in his new bed just last week (even though I was supposed to have him moved in here last year before Zain was born...opps). Next up, I'm working on a post about the DIY shiplap accent wall!
Thanks for reading!
Mel


No comments:
Post a Comment